Well, if you thought I got excited about the Sponge Filter, wait till you see how over-the-top I get with this technique! I had read about changing the background in a photograph, but it sounded kind of complicated, and I'd been putting off trying it. I've achieved a similar effect in the past, but I did it by isolating an image, removing background, building layers, etc. A fair bit of work, in other words. Here's one I did that happens to use the same background as the picture above:
I described this in an earlier post, Campus Reflections.
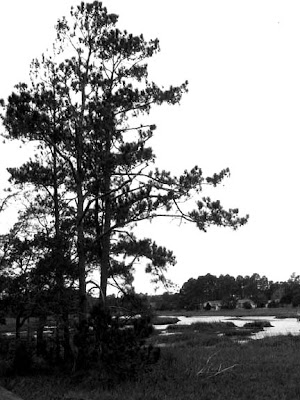
This time I picked this photograph to work with (taken in Morehead City on one of my walks). The directions in my book said to convert it to a black & white image, and increase the contrast. No problem. And I picked the sunset reflecting in a window to use as my new background.
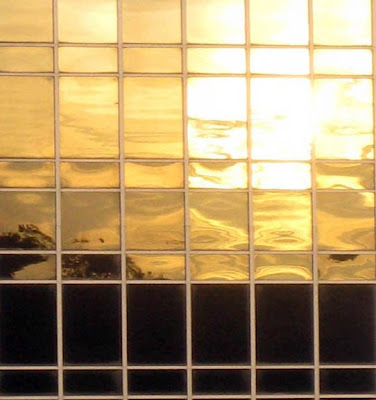

This time I picked this photograph to work with (taken in Morehead City on one of my walks). The directions in my book said to convert it to a black & white image, and increase the contrast. No problem. And I picked the sunset reflecting in a window to use as my new background.

I had both images adjusted to the same size, so they'd match. Then the directions said to select the background image and drag it over the first picture. (Again, this is easy.) Then the new part for me: Set the blend mode to multiply and leave the opacity at 100%. I found the right drop-down menu, clicked on "multiply" and lo-and-behold, this happened:
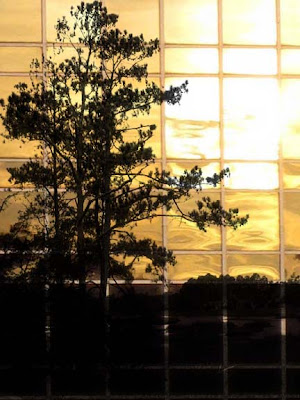
(Insert moan of pleasure here....) But, because there was a chunky dark area at the bottom of the reflection image, the water in the tree picture had disappeared. Okay, redo the background to have it more or less all gold:
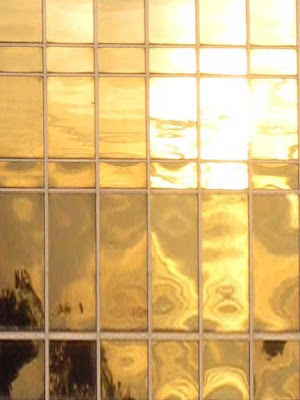
Again, drag the gold image over the tree image, hit "multiply" and I got the top image, where the gold color shows in the water as well as in the sky. (Yes, more moans of pleasure.)
Of course, once wasn't enough for me, so I took my tree photograph again and selected the following photo to use as my background.
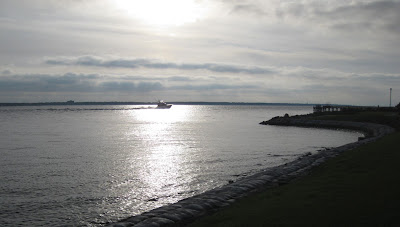
I cropped it, adjusted the size, lightness, and hue/saturation (which affects the color), and came out with this image for my background:
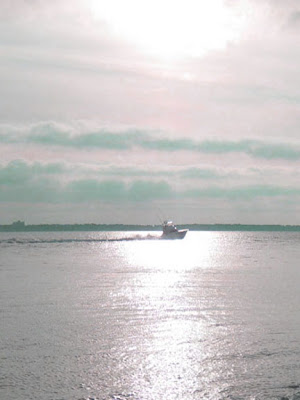
I figured I would have to remove the boat from the picture, but I decided to give it a try first. I took the image with the boat, dragged it on top of the tree image, and hit the "multiply" button.
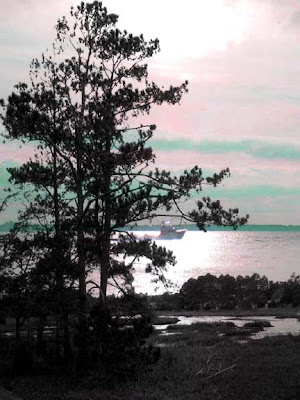
Wow! And look where the boat ended up? How perfect was that?

(Insert moan of pleasure here....) But, because there was a chunky dark area at the bottom of the reflection image, the water in the tree picture had disappeared. Okay, redo the background to have it more or less all gold:

Again, drag the gold image over the tree image, hit "multiply" and I got the top image, where the gold color shows in the water as well as in the sky. (Yes, more moans of pleasure.)
Of course, once wasn't enough for me, so I took my tree photograph again and selected the following photo to use as my background.

I cropped it, adjusted the size, lightness, and hue/saturation (which affects the color), and came out with this image for my background:

I figured I would have to remove the boat from the picture, but I decided to give it a try first. I took the image with the boat, dragged it on top of the tree image, and hit the "multiply" button.

Wow! And look where the boat ended up? How perfect was that?
So this is my new Photoshop technique for this week. I imagine you'll be seeing a few more pictures before Sunday's Summary comes around!


2 comments:
You are manipulating visual reality...good-o. Beats drugs anytime.
Insert moan of jealousy!
Beautiful!
Post a Comment