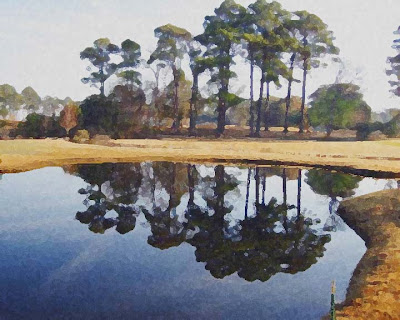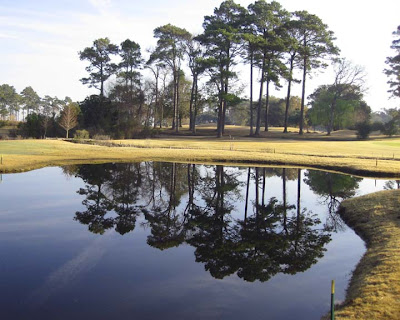
While I use Photoshop all the time, there are lots of tricks and techniques I've never learned. I've purchased several books on painting and design using Photoshop, and the books look really nice on my bookshelf.... So I've decided it's time to expand my digital horizons. Each week (starting this week) I plan to study a technique in Photoshop to add it to my repertoire. This week's project is the Sponge Filter. Above is a finished image and below is the photo I used.

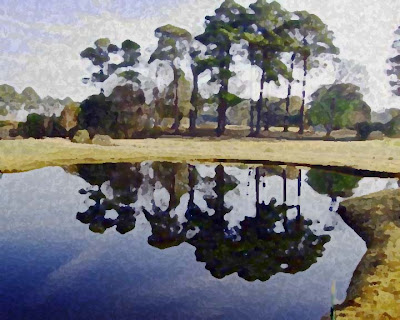
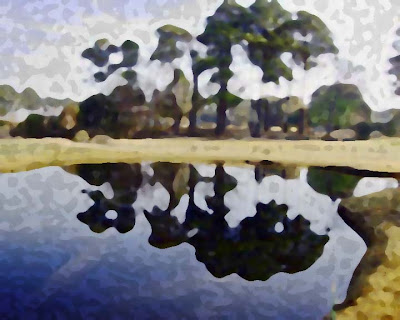
In this scene, the trees were reflected beautifully in the oh-so-still water. The pansies (yesterday), the red shack on Sunday, and the cows on Saturday were all done using the Sponge Filter. When using this filter, there are three sliding scales, one representing brush size, one for definition, and one for smoothness. What I found was that I needed to have all three scales set on their smallest numbers to get a decent-looking image. I used "one" on each scale for the first image. I played around with several combinations and here are a couple of examples:

Each scale for this image was set at "three."

When I set all three scales at "nine," this abstract image emerged. I also checked all of my Photoshop books to see what the authors did with the Sponge Filter. I can summarize that in a single word - Nothing! Maybe this filter was considered too simple for elaboration, but anyway, I experimented on my own.


1 comment:
I love the way the sponge filter transforms these images! Beautiful!
Post a Comment